 Mueen Studio
If you’ve asked a printer for a quote, you’ve probably been asked “do you have a dieline?” It’s the single most important file in packaging, and most first-time founders have never seen one. This guide explains what a dieline is, what every line on it means, and how to avoid the mistakes that cost a print run.
What is a dieline?
A dieline is a flat, to-scale drawing of a package as it looks before it’s cut, folded and glued. It shows the outline the cutting die will follow, every fold, every flap and every panel. The name comes from the steel cutting die that stamps the shape out of the printed sheet; the dieline is the drawing that die is made from.
Your artwork is placed on top of the dieline, so the designer knows exactly which part of the design ends up on the front, the lid, the side panels and the flaps. The dieline itself is never printed; it sits on its own layer as a guide.
The lines and zones on a dieline
Printers use different colours, but every dieline shows the same things. Always check the legend on the file you receive.
| Element | What it means | Often shown as |
|---|---|---|
| Cut line | Where the die cuts through the board: the outer edge of the package. | Solid line, often red or black |
| Fold or crease line | Where the board is scored so it folds cleanly. | Dashed line |
| Perforation | A partial cut for tear-open strips or dispensers. | Dotted or dash-dot line |
| Bleed | Artwork that extends beyond the cut line so no white edge shows if the cut shifts slightly. | Area outside the cut line |
| Safe zone | The inner margin where text and logos are guaranteed not to be cut or folded. | Line inside the cut, often green |
| Glue area | Where panels are glued. Usually left unprinted or knocked out so glue sticks. | Hatched or marked panel |
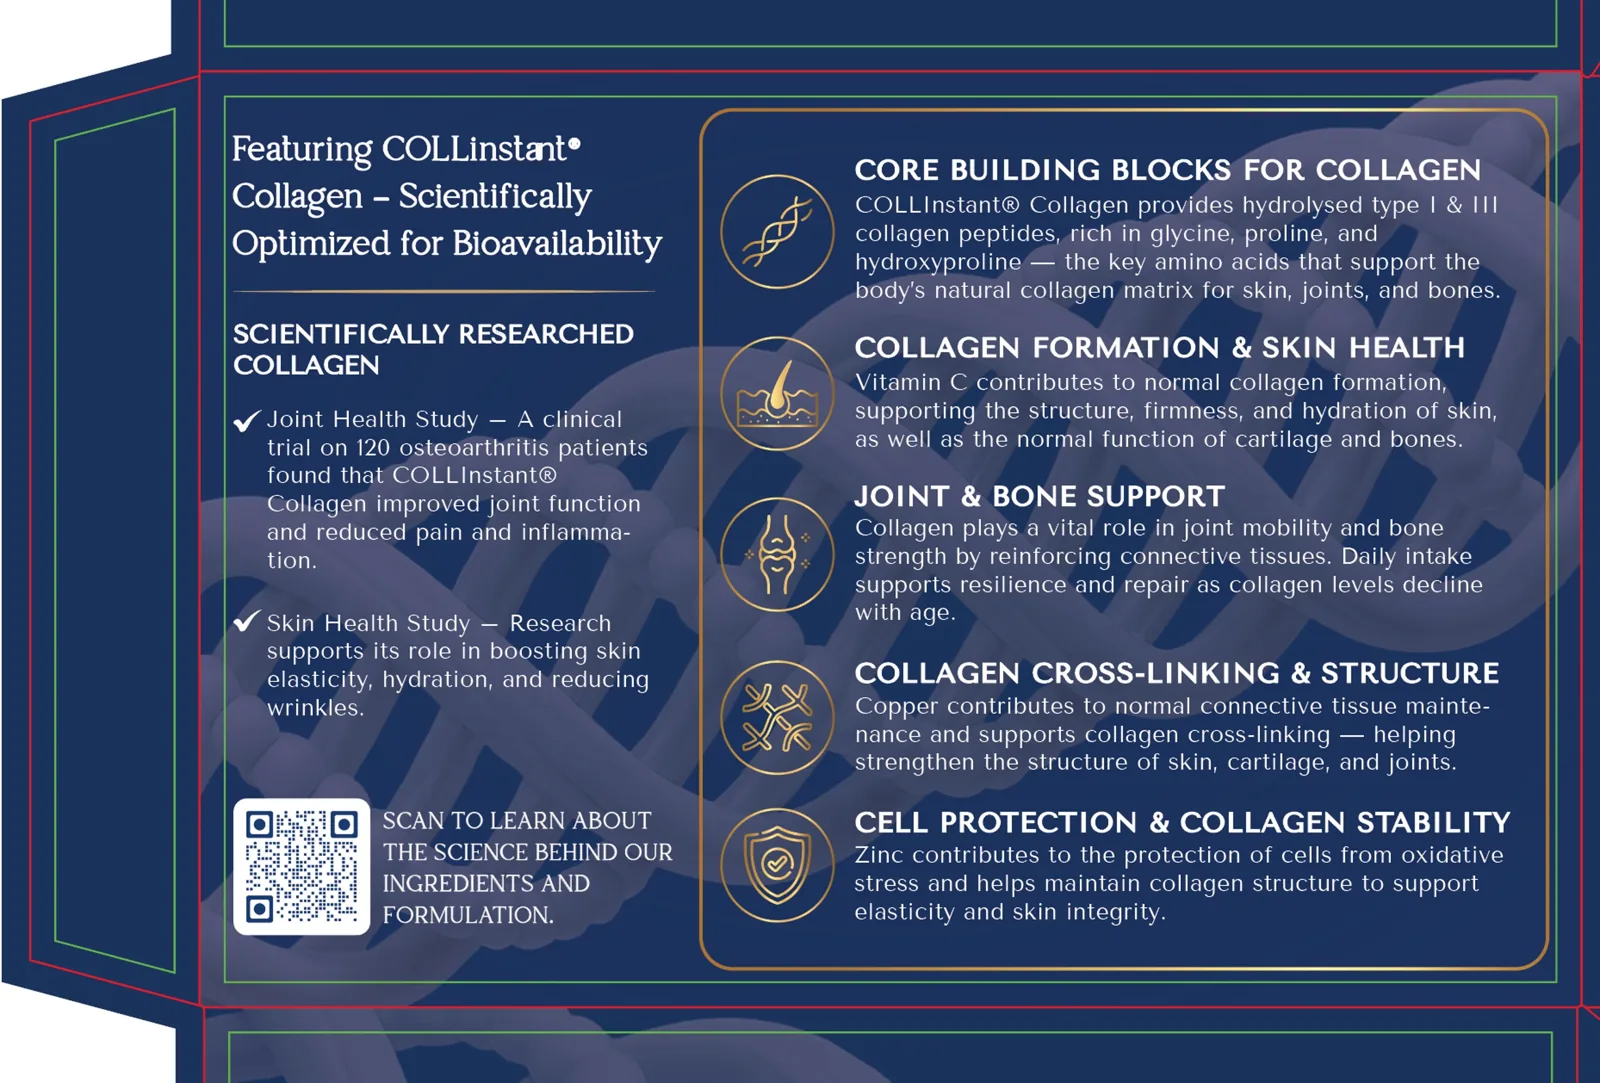
How to read a dieline in five steps
- Find the legend and the units. Millimetres or inches, and which colour means cut, fold and safe zone.
- Identify the panels. Front, back, sides, top and bottom flaps, and the glue flap. Label them on a copy.
- Work out the orientation. Flaps fold in different directions, so some artwork must be placed upside down on the flat sheet to read correctly once folded.
- Check the dimensions against your product. Most dielines give inside dimensions: the space for the product. The board thickness adds to the outside.
- Make a paper mock-up. Print it at 100%, cut it out, fold it and put your product inside. It’s the cheapest test in packaging.
Common box styles and their dielines
- Reverse tuck end: the top and bottom tuck flaps close from opposite sides. A common retail carton.
- Straight tuck end: both tucks close from the same side, giving a cleaner front panel.
- Auto-lock or crash-lock bottom: the bottom locks itself when the box is opened, which is faster to pack and stronger for heavier products.
- Mailer box: a one-piece box with a hinged lid, usually corrugated, for e-commerce.
- Rigid box wraps: rigid boxes are built from greyboard, so the dieline is for the printed paper wrap, with turn-in allowances that fold over the board edges. Lid and tray each have their own.
- Inserts: paperboard or foam inserts that hold the product have their own dielines too.
Where to get a dieline
The best source is your printer or manufacturer. Their dieline matches their dies, their board and their machines, so ask for it before design starts. Stock dielines from template libraries are useful for estimates, but rarely match a specific factory exactly.
If you don’t have one yet, a packaging designer can draw a custom dieline to your product’s dimensions. You share it with your printer to confirm or adjust before artwork is finalised. That’s standard practice in my structural packaging work.
A real example: dielines for a game box and a display
In the Firefly Adventures case study, a children’s escape-room game needed a magnetic rigid box with a two-level EVA foam insert, plus a retail display for travel activity kits. The handoff to the supplier combined outlined AI and PDF artwork, separate inside and outside views, foam layout references, dimension and fold guides, Pantone references and 3D views of the box and inserts. The display dieline carried outside artwork in Pantone 7466 C and its own inside print, and both projects went to physical samples.
Dieline mistakes that ruin a print run
- No bleed: white slivers appear at the edges when the cut shifts.
- Text outside the safe zone: letters get cut off or folded around a corner.
- Dieline left on a printing layer: the cut lines print on the box. Keep the dieline on its own layer as a named spot colour, set not to print.
- Artwork on the glue area: ink stops the glue from bonding.
- Wrong orientation: a flap’s artwork reads upside down once folded.
- Barcode across a fold: it won’t scan.
- Ignoring board thickness: the box comes out too tight for the product.
- Resizing a dieline in the design file: scaling a dieline doesn’t change the factory’s die. Always get a new one.
Need a custom dieline, an insert or artwork built on your printer’s file? See examples on the structural packaging and dielines page, or send your product dimensions.